Building a Minecraft Mod with Visual Studio 2015 and Windows 10
Getting Started
To get started, make sure you have the x64 version of Java SE Development Kit (JDK) for Windows. I downloaded the latest build at the time of this writing (8u45):

With that out of the way, you are ready to grab the Minecraft Mod Developer Pack extension for Visual Studio. Once installation is complete, create a new project:

IMPORTANT NOTE: The difference between Version 1.7.10 and 1.8 is vast. If you choose to create a 1.8 mod (and you should; no sense in learning an old version), make sure the documentation you are looking at is for 1.8 and not an older version. For example, setting textures on blocks/items is totally different as of 1.8 (it is configured via JSON instead of by calling a method).
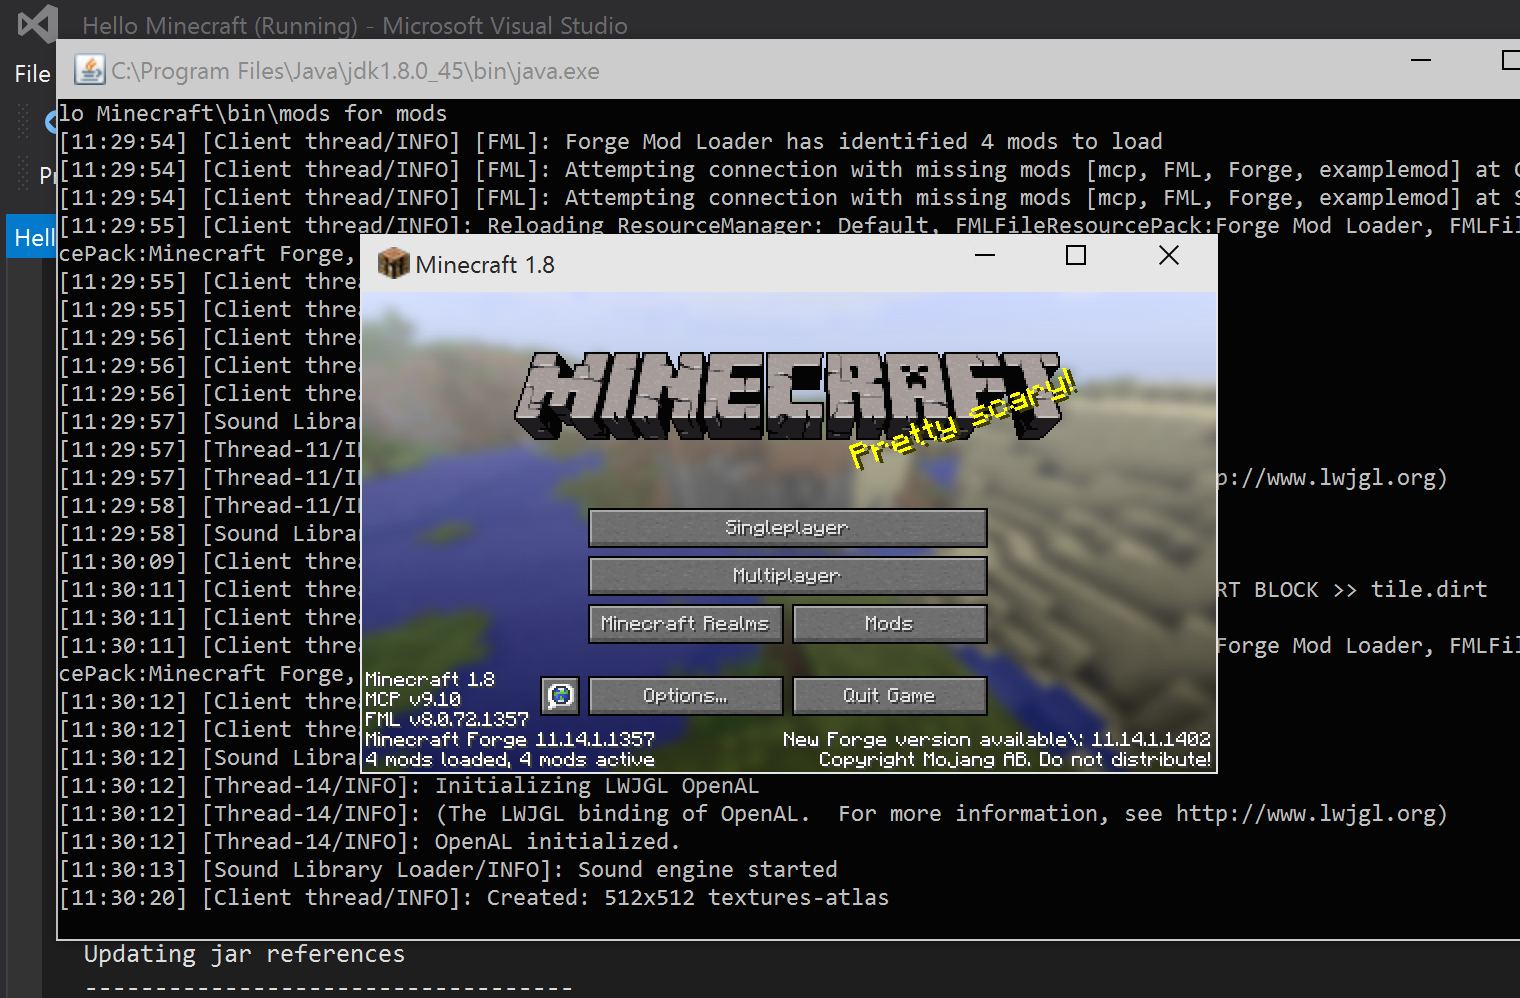
As you can see, in a fit of cleverness and originality I have named my project “Hello Minecraft”. When your project is created, Visual Studio will download a bunch of third-party packages and do a one-time provisioning build. It takes 5-20 minutes. For the curious, here is my build log. At this point we are ready to rock. Let’s hit F5 to debug the project just to make sure everything is working (since I am a skeptic at heart):
Creating a Block
Getting the mod project up and running was surprisingly easy. Next, we need to figure out something we want to modify. Since nobody else in the world is making custom TNT blocks (hah), let’s go ahead and build a custom TNT block.
Most of the TNT mods I have seen have been focused on making a bigger, better explosion. Being a man of restraint, I am going to create a smaller, wimpy explosion. In fact, Wimpy TNT is a great name for our new block! In /src/main/java/com/wimpy-tnt/WimpyTNTBlock (you will have to create the wimpy-tnt and WimpyTNTBlock subfolders) let’s create a class called WimpyTNTBlock. In that class, we will start to define our new block:
package hellominecraft.wimpytntmod;

// I know there are a lot of imports here... we will use them later in the demo!
import net.minecraft.block.Block;
import net.minecraft.block.BlockTNT;
import net.minecraft.block.material.Material;
import net.minecraft.creativetab.CreativeTabs;
import net.minecraftforge.fml.common.registry.GameRegistry;
import net.minecraft.world.World;
import net.minecraft.world.Explosion;
import net.minecraft.util.BlockPos;
import net.minecraft.block.state.BlockState;
import net.minecraft.block.state.IBlockState;
import net.minecraft.entity.player.EntityPlayer;
import net.minecraft.item.Item;
import net.minecraft.util.EnumFacing;
import net.minecraft.init.Items;
import net.minecraft.client.Minecraft;

public class WimpyTNTBlock extends Block
{
    private final String name = "wimpyTNT";

    public WimpyTNTBlock ()
    {
        super(Material.tnt);
        setUnlocalizedName(name);
        // We want this to show up on the "block" tab in creative mode.
        setCreativeTab(CreativeTabs.tabBlock);
    }

    public String getName()
    {
        return name;
    }
}
Next, we are going to need to set our mod up and instantiate / register our new block. In /src/main/java/com/wimpy-tnt/ create a class called WimpyTNTMod with the following content:
package hellominecraft.wimpytntmod;
import net.minecraft.init.Blocks;
import net.minecraftforge.fml.common.Mod;
import net.minecraftforge.fml.common.Mod.EventHandler;
import net.minecraftforge.fml.common.event.FMLInitializationEvent;
import net.minecraft.block.Block;
import net.minecraft.block.material.Material;
import net.minecraft.creativetab.CreativeTabs;
import net.minecraftforge.fml.common.registry.GameRegistry;
import net.minecraft.client.renderer.entity.RenderItem;
import net.minecraftforge.fml.relauncher.Side;
import net.minecraft.client.Minecraft;
import net.minecraft.item.Item;
import net.minecraft.client.resources.model.ModelResourceLocation;
@Mod(modid = WimpyTNTMod.MODID, name = WimpyTNTMod.NAME, version = WimpyTNTMod.VERSION)
public class WimpyTNTMod
{
public static final String MODID = "WimpyTNT";
public static final String VERSION = "1.0";
public static final String NAME = "Wimpy TNT Mod";
public static Block wimpyTNT;
@EventHandler
public void init(FMLInitializationEvent event)
{
wimpyTNT = new WimpyTNTBlock();
GameRegistry.registerBlock(wimpyTNT, "wimpyTNT");
}
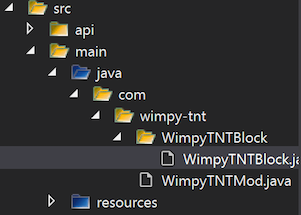
}Your /src folder should now look something like this in solution explorer:
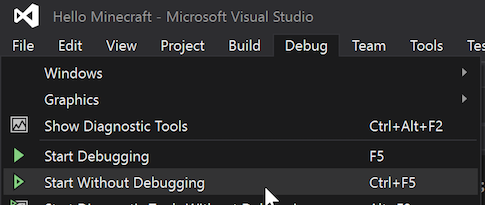
Alright - let’s fire this baby up. For testing, debugging (at least on my machine) is painfully slow. For a faster experience, let’s fire the project up without debugging (Ctrl + F5):
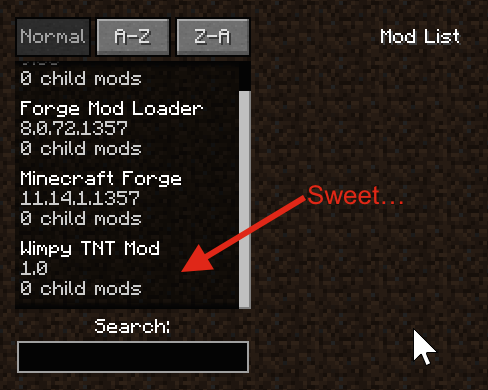
If you go to the Mod List, you should find that our new mod shows up with the correct Name and Version:
Create a new world in Creative mode and you will see our new block is available:
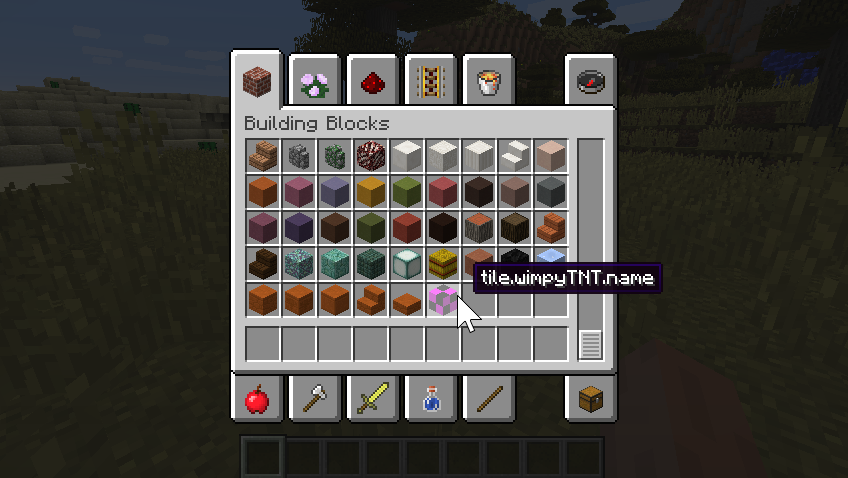
We have created a block but we now have 3 major problems:
- The placeholder texture sucks.
- title.wimpyTNT.name is not a very good name.
- It doesn’t DO anything!
Fear not, gentle reader, for we are about to address these issues…
Custom Textures
Let’s give our new block a custom texture. Using the most cutting-edge tools available, I created a PNG that I want to use as the texture for Wimpy TNT:
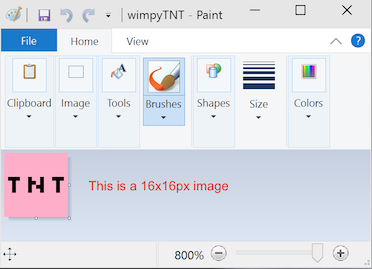
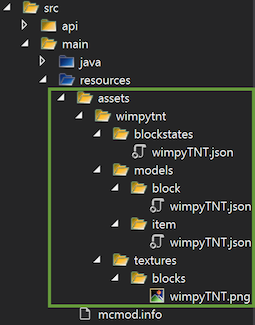
In order to set our block’s texture, we first need to add our texture image (named wimpyTNT.png) to /src/main/resources/assets/wimpytnt/textures/blocks. Next we need to create 3 JSON configuration files for our block:
- /src/main/resources/assets/wimpytnt/blockstates/wimpyTNT.json
- /src/main/resources/assets/wimpytnt/models/block/wimpyTNT.json
- /src/main/resources/assets/wimpytnt/models/item/wimpyTNT.json
To do this, I used an invaluable utility created by wuppy21. It will auto-generate the JSON files for you and all you have to do is move them in to your project. When you have all 3 JSON files and the texture image, your solution explorer should look like this:
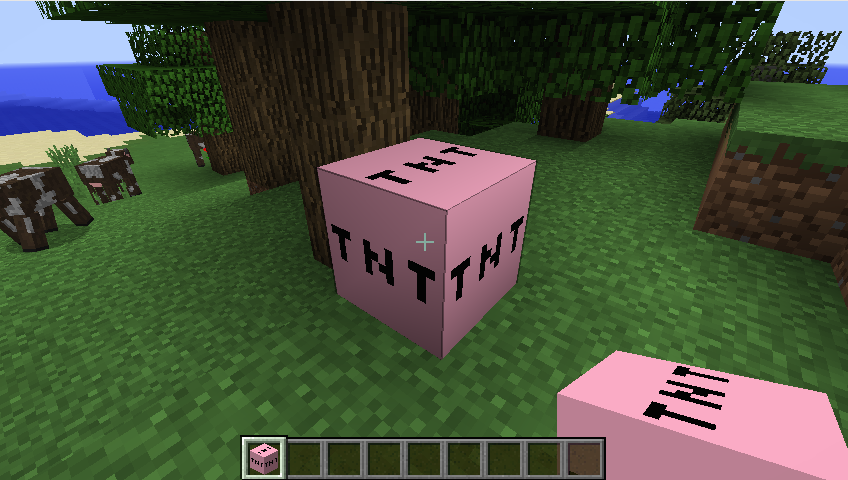
Now when you run the project you can place the block and it will have the correct texture:
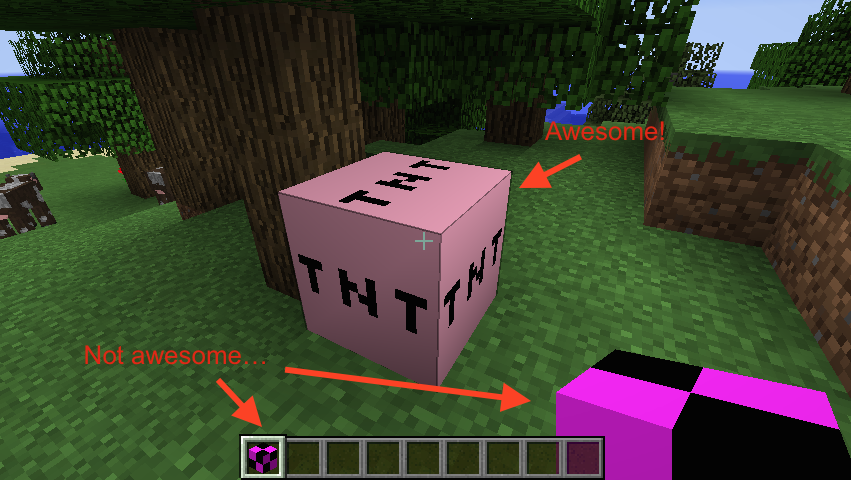
To fix the texture on inventory and when holding the item in your hand, we need to register a renderer for our block. Add the following to your init method in your WimpyTNTMod class:
//register renders
if(event.getSide() == Side.CLIENT)
{
    RenderItem renderItem = Minecraft.getMinecraft().getRenderItem();

    // Register a renderer for our wimpy TNT block
    renderItem.getItemModelMesher().register(Item.getItemFromBlock(wimpyTNT), 0, new ModelResourceLocation(WimpyTNTMod.MODID + ":" + ((WimpyTNTBlock)wimpyTNT).getName(), "inventory"));
}
This page was extremely helpful to me when trying to figure this out since most of the samples I found were prior to version 1.8. With this code in place, fire up the project and you will see that you are in good shape with regards to textures:
Give it a Name
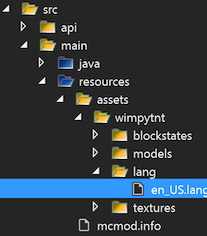
Our name is still not ideal. To fix this, we need to add a lang file to /src/main/resources/assets/wimpytnt/lang/. Let’s create the lang folder and add en_US.lang to it:
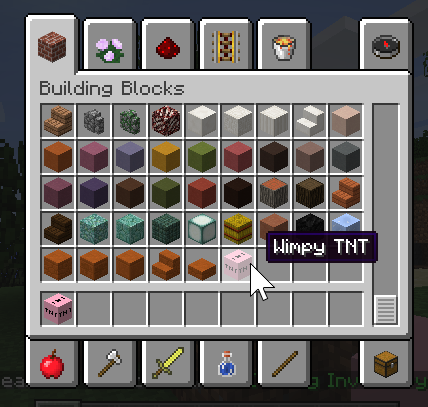
The file needs the following line to give our block a name: tile.wimpyTNT.name=Wimpy TNT (huge thanks to this thread for helping me figure this out). The next time you debug the app, when you hover over your new block, the name is displayed:
Explode!
Let’s make this block explode when you activate it with flint. I did a bit of spelunking in to the decompiled code for BlockTNT and, luckily, creating an explosion is easy. Add the following method to your WimpyTNTBlock class:
public boolean onBlockActivated(World worldIn, BlockPos pos, IBlockState state, EntityPlayer playerIn, EnumFacing side, float hitX, float hitY, float hitZ)
{
    if (playerIn.getCurrentEquippedItem() != null)
    {
        Item item = playerIn.getCurrentEquippedItem().getItem();

        if (item == Items.flint_and_steel || item == Items.fire_charge)
        {
            // Let's set our wimpy TNT block to air because it is exploding...
            worldIn.setBlockToAir(pos);

            // You can bump the force up/down here if you like.
            float force = .5F;

            // Create the explosion in our world.
            worldIn.createExplosion(null, pos.getX(),
                pos.getY(), pos.getZ(), force, true);

            return true;
        }
    }

    return super.onBlockActivated(worldIn, pos, state, playerIn, side, hitX, hitY, hitZ);
}
You should now be able to hit it with flint and steel to make it explode. It’s pretty underwhelming, but, that’s why we named it Wimpy TNT. Here is a video of it in action:
Wrapping Up
I hope this gives you some ideas as to how you can get started creating your own Minecraft mods. If you have any questions, hit me up via twitter and I will try to help.
You can download the source for this project here. If you have any suggestions for edits, send me a pull request!